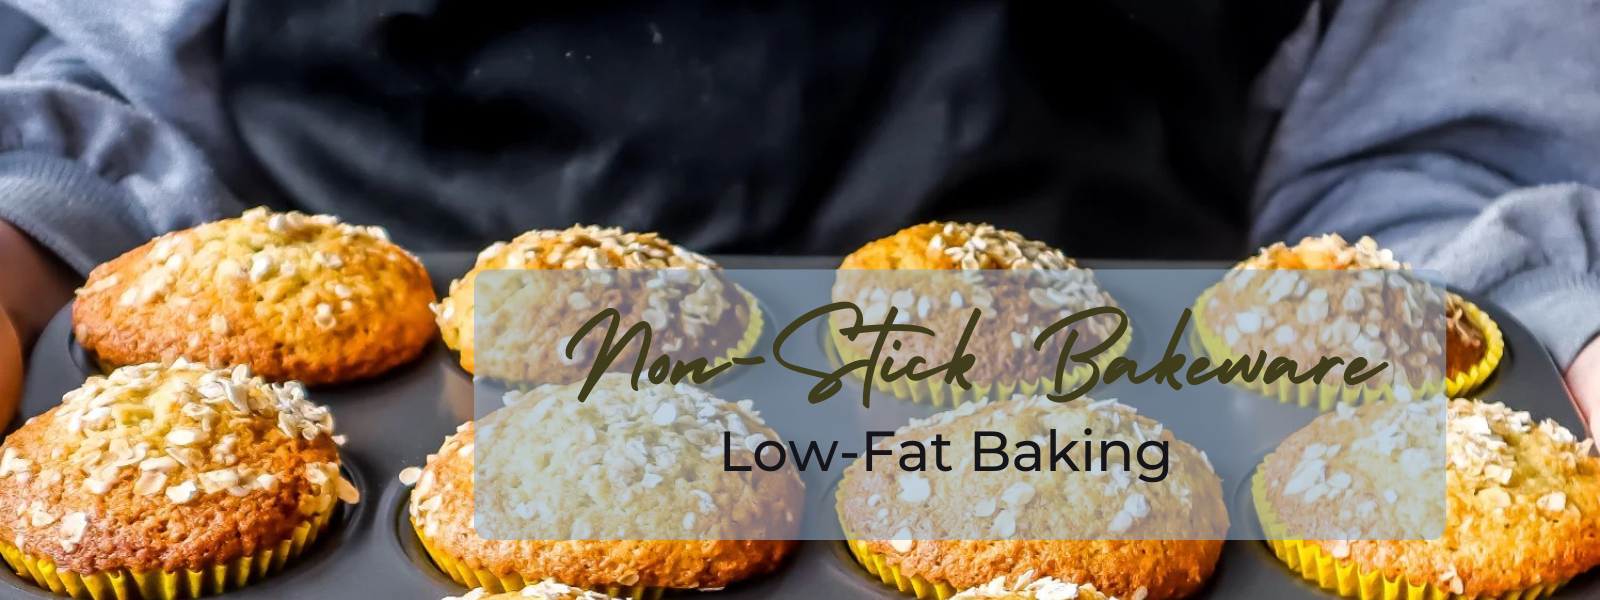
Non-stick bakeware makes baking with less oil or butter easier and healthier, helping reduce excess fat and calories while still delivering tasty results. To get the best results without compromising the non-stick surface, follow these simple tips:
Table of Contents
- 1. Preheat the Bakeware for Even Heat Distribution
- 2. Use Minimal Grease – But Only When Necessary
- 3. Opt for Silicone Utensils to Prevent Surface Damage
- 4. Allow Food to Cool Slightly Before Removing
- 5. Use Parchment Paper or Silicone Baking Mats When Necessary
- 6. Cook at the Right Temperature
- 7. Handle Delicate Recipes with a Light Touch
- 8. Ensure Proper Cleaning and Maintenance
- 9. Store Bakeware Properly to Protect the Surface
- 10. Experiment with Low-Fat Baking Recipes
- 11. Key Benefits of Non-Stick Bakeware for Minimal Fat Cooking
Preheat the Bakeware for Even Heat Distribution
While it may seem tempting to skip this step, preheating your bakeware helps ensure that heat is evenly distributed, which helps food release smoothly and reduces the need for extra oil or butter.
Tip: Place your non-stick bakeware in the oven for a few minutes before adding your ingredients. This brief warm-up helps maintain even baking and can help reduce sticking.
Use Minimal Grease – But Only When Necessary
Most non-stick bakeware allows for baking with little to no oil or butter. However, if you're making something with a high sugar content, like cookies or brownies, a light spray or brush of oil can help avoid sticking due to caramelization.
Tip: If needed, use a small amount of a non-stick spray or lightly brush with a small amount of oil, making sure to use only as much as is necessary to coat the surface without pooling.
Opt for Silicone Utensils to Prevent Surface Damage
Scratches on non-stick bakeware can cause food to stick and ruin its non-stick properties over time. Using silicone or wooden utensils prevents damage, ensuring the surface stays intact and effective for low-fat cooking.
Tip: Avoid metal spatulas, forks, and knives on your non-stick bakeware. Silicone, plastic, or wooden utensils are best for extending the life of the non-stick surface.
Allow Food to Cool Slightly Before Removing
Allowing baked goods to cool slightly in the pan can help them firm up, making it easier to release without the need for extra butter or oil.
Tip: For items like cakes or muffins, let them cool for a few minutes in the pan before gently loosening the edges with a silicone spatula and then transferring them to a cooling rack.
Use Parchment Paper or Silicone Baking Mats When Necessary
For delicate or sticky recipes, like meringues or sticky buns, consider using parchment paper or a silicone baking mat. These tools provide an extra layer of protection, allowing you to skip oil or butter entirely while preserving the quality of your non-stick bakeware.
Tip: Cut parchment paper to fit the shape of your bakeware or line your pans with a reusable silicone mat for easy, fat-free baking with easy clean-up.
Cook at the Right Temperature
Overheating can degrade non-stick coatings and increase the likelihood of sticking, making additional oil or butter necessary. Be mindful of your oven temperature and avoid high heat that can compromise the effectiveness of non-stick surfaces.
Tip: Always follow the manufacturer’s temperature guidelines, typically staying below 450°F (232°C), to prevent damaging the coating.
Handle Delicate Recipes with a Light Touch
Some recipes, especially those involving eggs or high-sugar content, can be prone to sticking if removed too quickly. Gently loosening the edges with a soft spatula can prevent the need for added fat while keeping your bakeware intact.
Tip: If using a knife to cut bars or cakes directly in the pan, choose a plastic or silicone knife to avoid scratching.
Ensure Proper Cleaning and Maintenance
A clean non-stick surface performs best with minimal oil or butter. Avoid harsh cleaning methods, as buildup from burnt food can affect non-stick properties, making future baking require additional grease.
Tip: Hand wash your bakeware with warm, soapy water and a soft sponge. Avoid abrasive pads or scouring powders, and ensure it is fully dry before storing.
Store Bakeware Properly to Protect the Surface
Stacking non-stick bakeware without any buffer can lead to scratches, reducing its effectiveness over time. Protecting the surface between uses keeps it performing at its best, requiring less oil and butter for baking.
Tip: Store non-stick bakeware by stacking with protective pads or dish towels between each piece to avoid scratches. Alternatively, store bakeware flat or vertically in racks that keep items separate.
Experiment with Low-Fat Baking Recipes
Non-stick bakeware pairs perfectly with low-fat and low-sugar recipes. Try recipes that naturally require less oil or butter, or consider replacing fats with healthier alternatives like applesauce or yogurt.
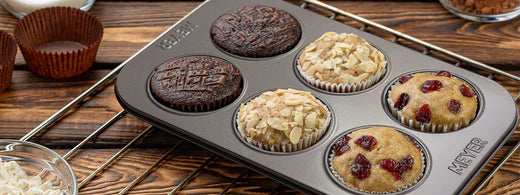
Tip: Baking recipes that work well in non-stick bakeware include oil-free cakes, fruit-based desserts, or muffins that are naturally moist. These options help you avoid unnecessary oils and make the most of the non-stick surface.
Key Benefits of Non-Stick Bakeware for Minimal Fat Cooking
Using non-stick bakeware with minimal oil or butter offers both health benefits and convenience:
- Lower Fat Content: Reducing or eliminating oil can significantly cut down on calories and fat in your baked goods.
- Reduced Cleanup: Non-stick surfaces are easier to clean, especially with low-fat recipes, making kitchen clean-up quicker and simpler.
- Enhanced Flavors: Baking with minimal oil lets the flavors of ingredients shine, whether it's the freshness of fruit or the rich taste of chocolate in a brownie.
By following these tips, you can enjoy all the benefits of non-stick bakeware while minimizing or even eliminating the need for extra oil and butter in your baking, resulting in healthier, delicious, and perfectly baked results every time.



Leave a comment