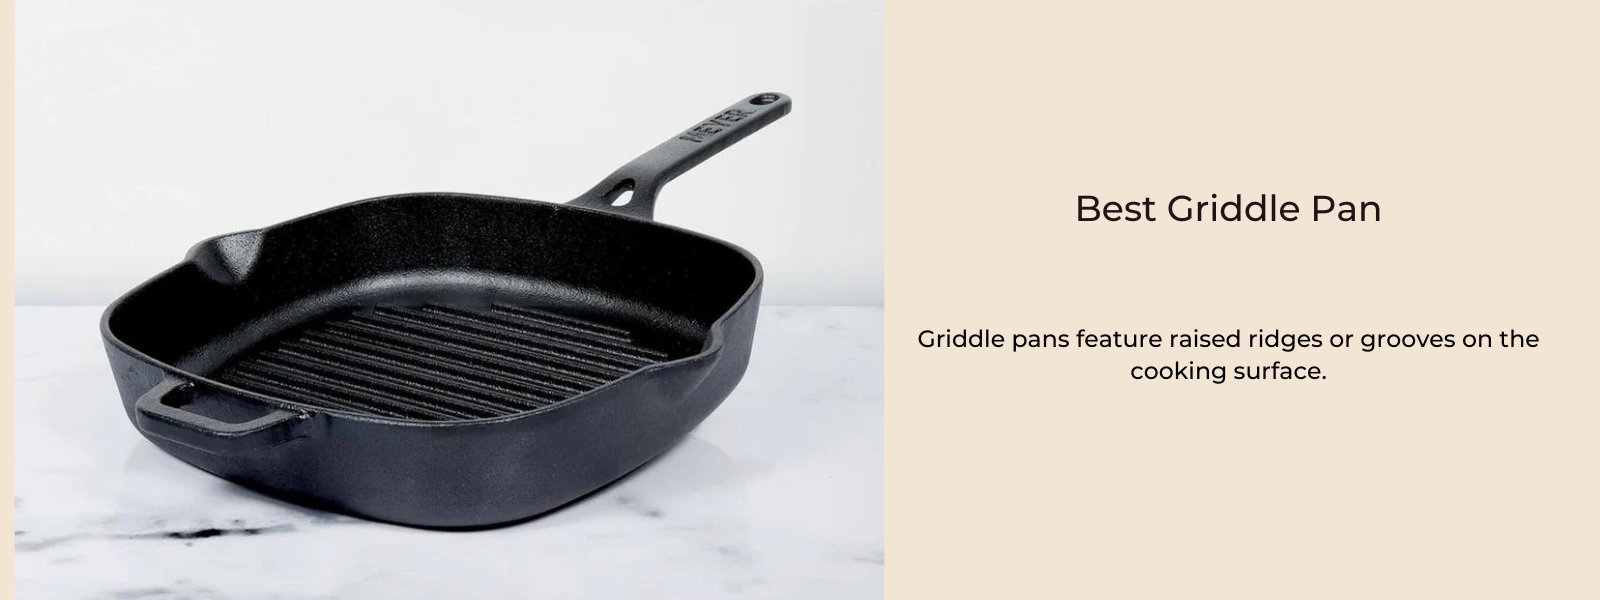
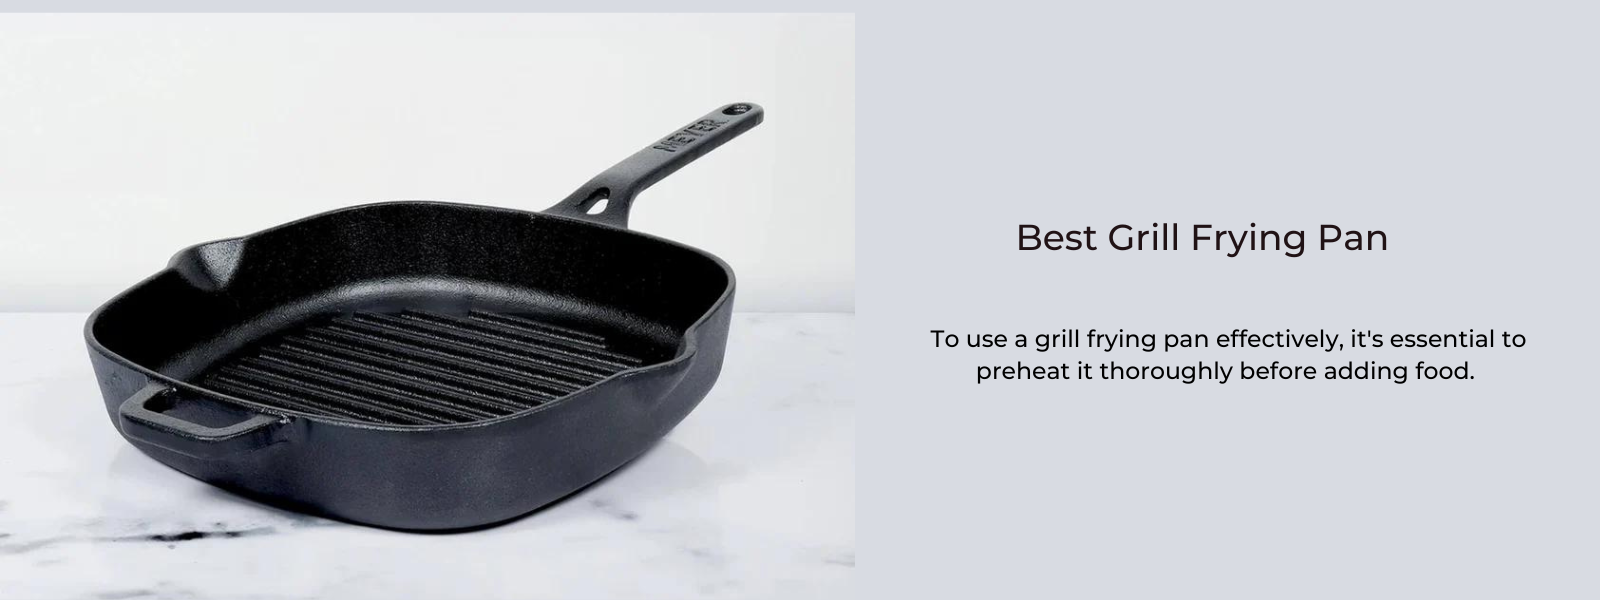
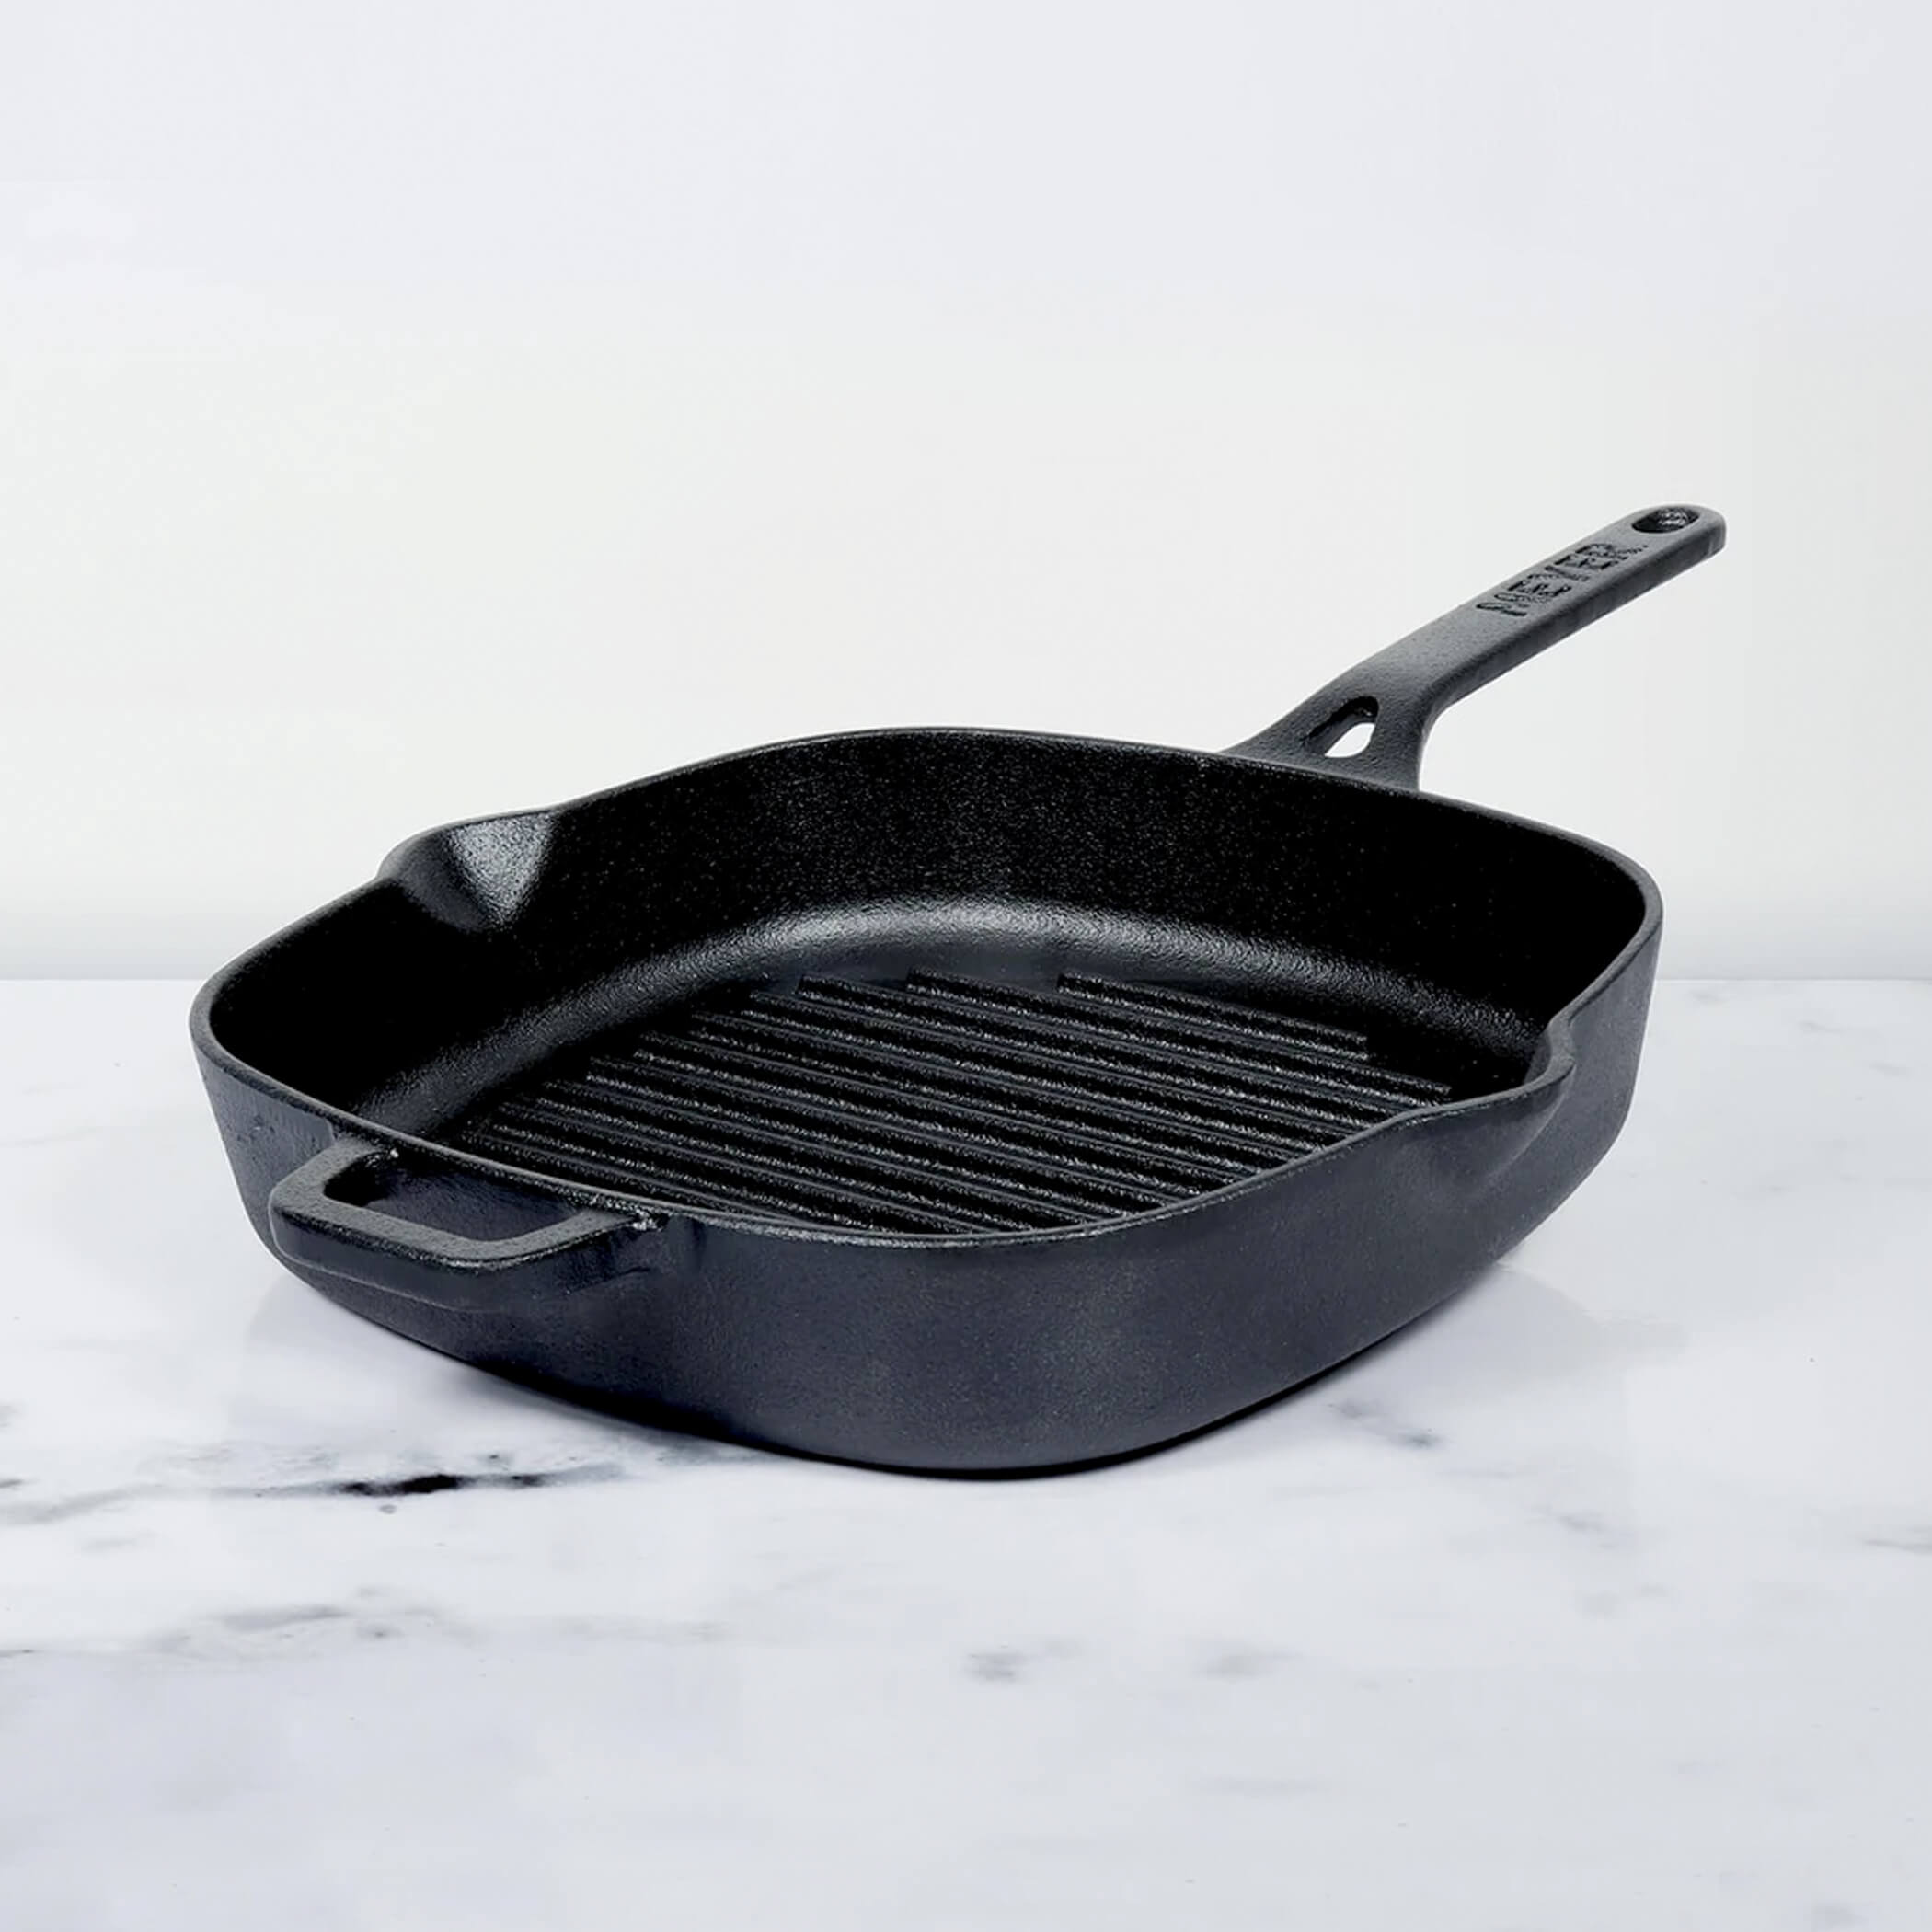
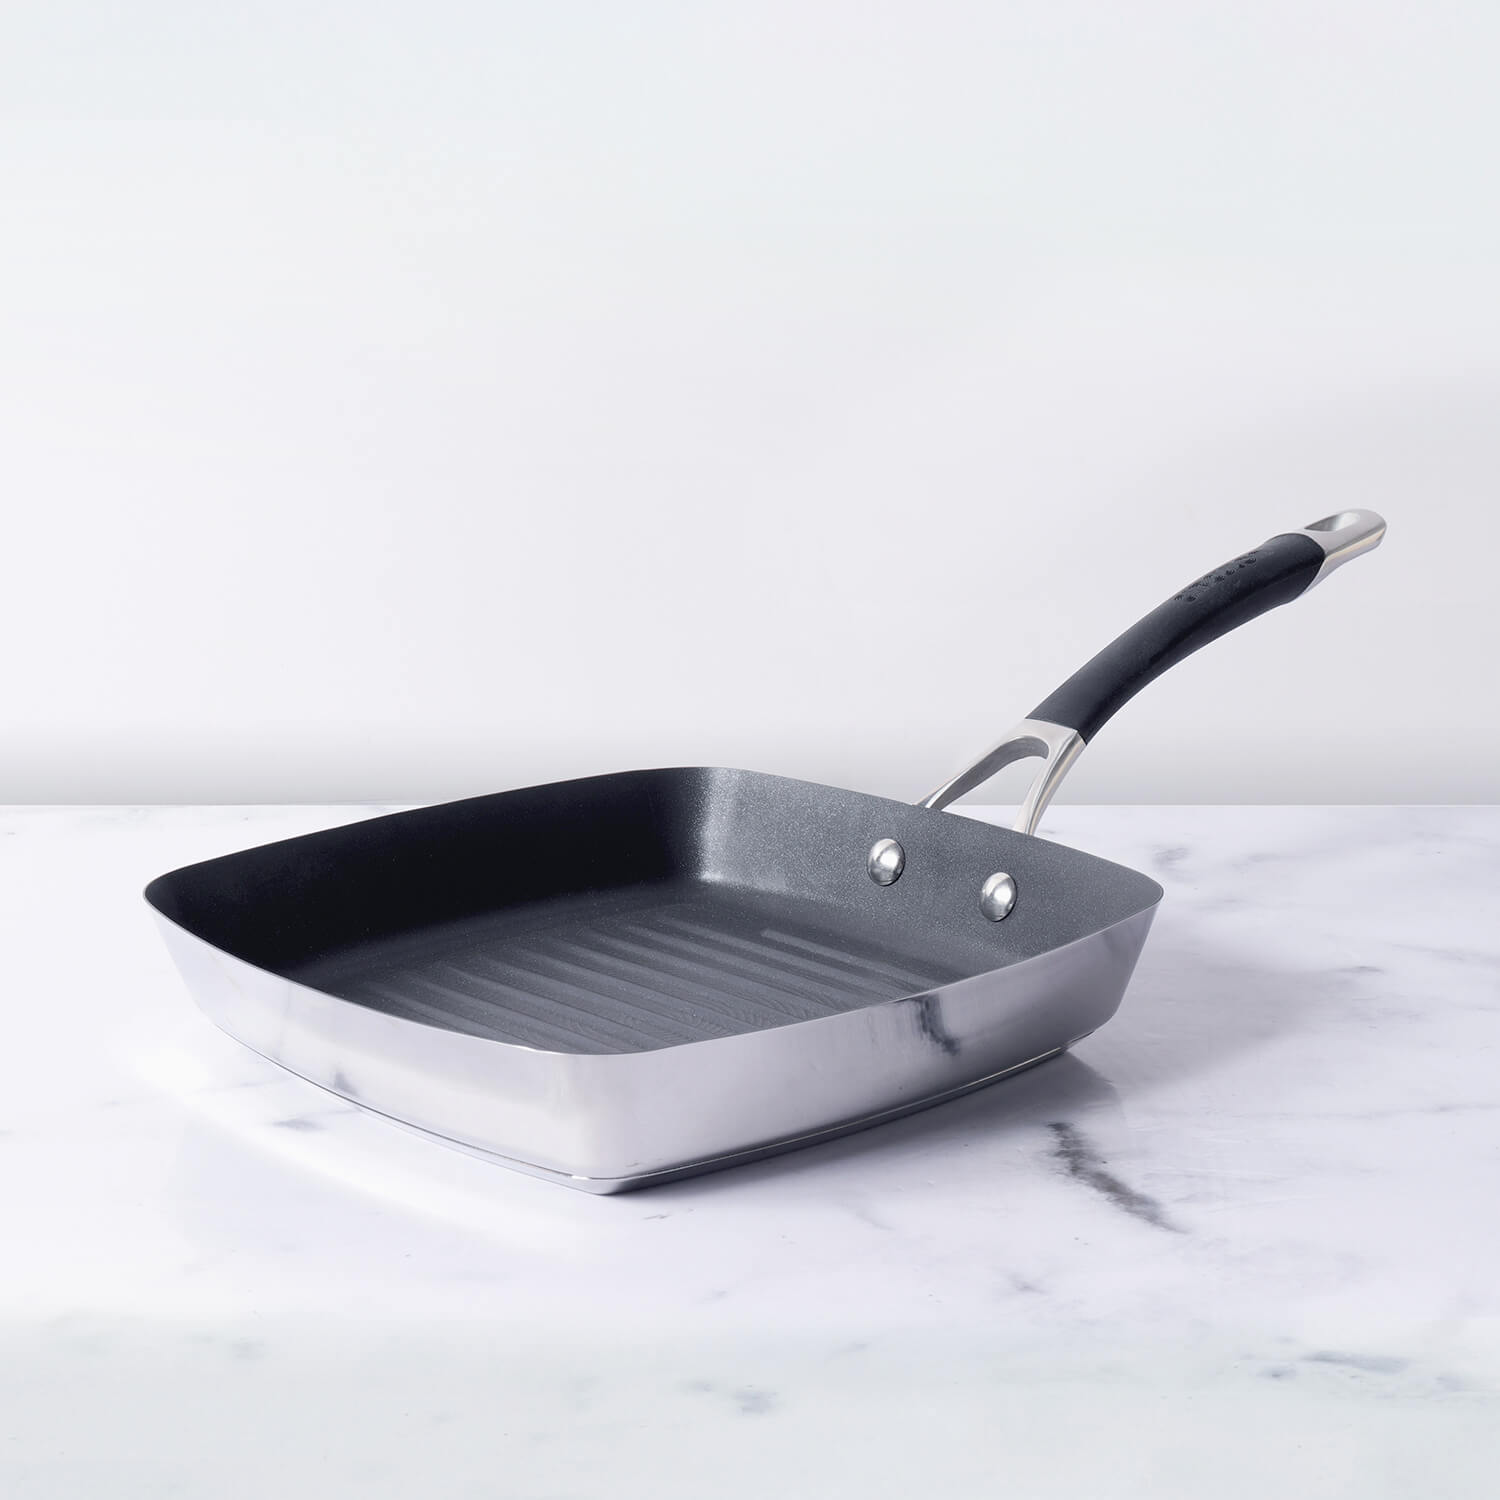
A grill pan is a versatile kitchen tool that can be used for a variety of cooking tasks. Its primary purpose is to mimic the effect of grilling, allowing you to achieve grill-like results indoors on a stovetop.
Table of Contents
Common uses of a grill pan:
- Grilling Meat: Grill pans are excellent for grilling various types of meat, including burgers, chicken breasts, and sausages. The raised ridges on the pan create grill marks and help drain excess fat away from the meat.
- Grilling Seafood: You can use a grill pan to grill seafood such as shrimp, fish fillets, scallops, and squid. The grill marks add visual appeal and a smoky flavor.
- Grilling Vegetables: Grill pans are perfect for grilling vegetables like bell peppers, zucchini, eggplant, asparagus, and corn on the cob. The grill marks enhance the appearance and flavor of the vegetables.
- Grilling Fruit: You can grill fruits like peaches, pineapples, and watermelon on a grill pan. Grilling caramelizes the natural sugars in the fruit and enhances their sweetness.
- Bread and Pizza: Grill pans can be used to toast or grill bread, pita, and flatbreads. You can also use them to make small-sized grilled pizzas.
- Browning: Grill pans are excellent for browning foods like mushrooms, onions, and garlic, adding depth of flavor to your dishes.
- Searing: Grill pans can be used to sear meats and seafood before finishing them in the oven. This is a common technique for achieving a flavorful crust on steaks and roasts.
- Kebabs: While not traditional for kebabs, grill pans can be used to cook skewered meats and vegetables indoors, allowing you to enjoy this popular dish without an outdoor grill.
- Bringing Grill Marks to Leftovers: If you have leftover cooked meats or vegetables, you can use a grill pan to reheat them and add grill marks for a fresh appearance.
- Reduced-Fat Cooking: Grill pans typically require less oil or fat for cooking, making them a healthier option compared to traditional frying pans.
How To Use Grill Pan To Create Grill Marks On Food?
You can easily use grill pan to create grill marks on food. Grill marks not only enhance the visual appeal of your dishes but also add a desirable smoky flavor and caramelization. Here are steps to achieve perfect grill marks using a grill pan:
Ingredients and Equipment:
- Food of your choice (e.g., steak, chicken, vegetables)
- Grill pan
- Cooking oil or spray
- Salt and pepper (optional, for seasoning)
Instructions:
-
Preheat the Grill Pan:
a. Place your grill pan on the stovetop over medium-high to high heat.
b. Allow the grill pan to heat thoroughly. It's essential to preheat it so that it's hot enough to sear the food and create grill marks. -
Season Your Food (Optional):
a. Season your food with salt, pepper, and any desired spices or marinades before placing it on the grill pan. Seasoning enhances the flavor of the food. -
Oil the Food and the Grill Pan:
a. Brush or lightly coat both the food and the grill pan's ridges with cooking oil or spray. This helps prevent sticking and promotes grill mark formation. -
Place the Food on the Grill Pan:
a. Carefully place your seasoned food on the hot grill pan. You should hear a sizzling sound as the food makes contact with the hot surface. Arrange the food diagonally or at a 45-degree angle to the ridges to create diamond-shaped grill marks. -
Don't Move the Food Immediately:
a. Allow the food to cook without moving it for a few minutes. This helps create well-defined grill marks. Cooking times vary depending on the type and thickness of the food. For example, a steak might take 2-4 minutes per side for rare to medium-rare, while vegetables may take 4-6 minutes. -
Rotate the Food:
a. After a few minutes, use tongs to carefully rotate the food 90 degrees to create a crisscross pattern of grill marks. This step is optional but adds a professional touch to your presentation. -
Flip the Food:
a. Once you have achieved the desired grill marks on one side, flip the food over to cook the other side. Follow the same steps, allowing it to cook without moving for a few minutes and then rotating it to create grill marks. -
Monitor Cooking Time:
a. Continue cooking and flipping as needed until the food reaches your desired level of doneness. Use a meat thermometer to check the internal temperature for meats. -
Remove and Rest:
a. Once your food is cooked to perfection, remove it from the grill pan and allow it to rest for a few minutes. Resting helps redistribute the juices and ensures a juicy result. -
Serve and Enjoy:
a. Plate your beautifully grilled food with the grill marks facing up to showcase your culinary skills and enjoy the delicious flavors and textures.
By following these steps, you can create impressive grill marks on your food using a grill pan, whether you're grilling meats, vegetables, or other delicious ingredients.
Can You Use Grill Pan For Reduced Fat Cooking?
Yes, a grill pan can be a helpful tool for reducing fat in your cooking. Here's how a grill pan can contribute to lower-fat cooking:
- Less Oil: Grill pans typically require less oil or fat compared to traditional frying pans. The raised ridges on the grill pan allow excess fat to drain away from the food as it cooks. This means you can achieve a flavorful sear and caramelization on your food without needing as much oil.
-
Fat Drainage: The ridges on the grill pan create channels where fat and grease can collect as the food cooks. This reduces the amount of fat that is absorbed by the food, resulting in lower overall fat content in your dishes.
3. Healthier Cooking: By using a grill pan, you can enjoy the charred and smoky flavors associated with grilling without the need for excessive oils or fats. This can make your meals healthier and reduce calorie intake.




Leave a comment