

Replacing the washer, also known as the gasket, in a pressure cooker is essential for ensuring it works safely and efficiently. The gasket plays a critical role in creating an airtight seal, allowing pressure to build up inside the cooker. Over time, the gasket can wear out, become brittle, or lose elasticity, which may lead to pressure loss, steam leaks, or unsafe cooking conditions. Here’s a detailed guide on pressure cooker washer replacement tips to help you maintain your appliance effectively.
Table of Contents
- Recognizing When to Replace the Washer
- Choosing the Right Replacement Washer
- Steps to Replace the Pressure Cooker Washer
- Maintenance Tips for Your Pressure Cooker Gasket
- Common Mistakes to Avoid
- Troubleshooting After Replacement
- Benefits of Replacing the Gasket
Recognizing When to Replace the Washer
It’s important to identify the signs of a damaged or worn-out washer. Replace the gasket if you notice:
- Steam Leaks: If steam escapes from the sides of the lid, the gasket may no longer be creating an airtight seal.
- Visible Damage: Cracks, tears, or deformation in the gasket indicate that it’s time for a replacement.
- Loss of Elasticity: A gasket that feels stiff, brittle, or hard instead of soft and flexible should be replaced.
- Difficulty Building Pressure: If your pressure cooker takes longer than usual to build pressure or fails to do so, the gasket might be the issue.
- Frequent Usage: For regular users, replacing the gasket every 12–18 months is a good practice, even if there are no visible issues.

Choosing the Right Replacement Washer
To ensure your pressure cooker functions correctly after replacement, consider these tips:
- Check Compatibility: Always purchase a gasket that is specifically designed for your pressure cooker model.
- Material Matters: Silicone gaskets are often more durable and flexible compared to rubber.
- Buy Genuine Parts: It’s recommended to use original spare parts from the cooker’s manufacturer.
- Consider Size: Measure the diameter of your cooker or check the product label to ensure the replacement fits properly.
Steps to Replace the Pressure Cooker Washer
Step 1: Turn Off and Cool the Cooker
Ensure the pressure cooker is turned off, completely cooled down, and depressurized before handling it.
Step 2: Remove the Old Washer
Carefully pull out the old gasket from the groove inside the lid. Clean the groove with a damp cloth.
Step 3: Inspect the Lid
Before installing the new gasket, inspect the lid for any damage or buildup.
Step 4: Install the New Washer
Place the new gasket into the groove inside the lid, ensuring it is evenly seated without any twists or folds.
Step 5: Test the Pressure Cooker
Run a test cooking cycle with water to ensure the gasket creates an airtight seal.
Meyer Anzen Ceramic Coated Cookware 24cm Wok / Kadai with Lid
Maintenance Tips for Your Pressure Cooker Gasket
- Clean After Each Use: Wash the gasket with warm, soapy water after every use.
- Avoid Overstretching: Handle it gently to avoid overstretching or tearing.
- Dry Thoroughly: Always let the gasket air dry completely before reinstalling it.
- Store Separately: Remove it from the lid during storage and keep it in a cool, dry place.
- Inspect Regularly: Periodically check the gasket for signs of wear, cracking, or brittleness.
Common Mistakes to Avoid
- Forcing the Gasket: Never force the gasket into the groove.
- Using the Wrong Gasket: Ensure compatibility with your cooker model.
- Skipping Cleaning: Food particles or grease trapped under the gasket can prevent a proper seal.
- Cooking Without a Gasket: Never use the pressure cooker without a gasket.
Troubleshooting After Replacement
If you experience issues after replacing the gasket, consider the following:
- Steam Still Escaping: Check if the gasket is correctly seated in the groove.
- Pressure Not Building: Confirm that the gasket is the correct size and inspect the pressure release valve.
- Cooking Takes Longer: Ensure the gasket is new, undamaged, and properly installed.
Benefits of Replacing the Gasket
- Improved Safety: A new gasket ensures proper pressure buildup, preventing leaks.
- Enhanced Cooking Efficiency: A well-sealed gasket allows the pressure cooker to function efficiently.
- Prolonged Appliance Lifespan: Regular gasket replacement helps maintain the overall health of the pressure cooker.
MORE FROM BLOG
Top Collections

Benefits of a 3 Litre Pressure Cooker
2 Items
Choosing Between Steel and Aluminium Pressure Cookers
2 Items
Choosing the Right Cooker for Your Kitchen Needs
2 Items
Why Stainless Steel Pressure Cookers Are Worth the Investment
2 Items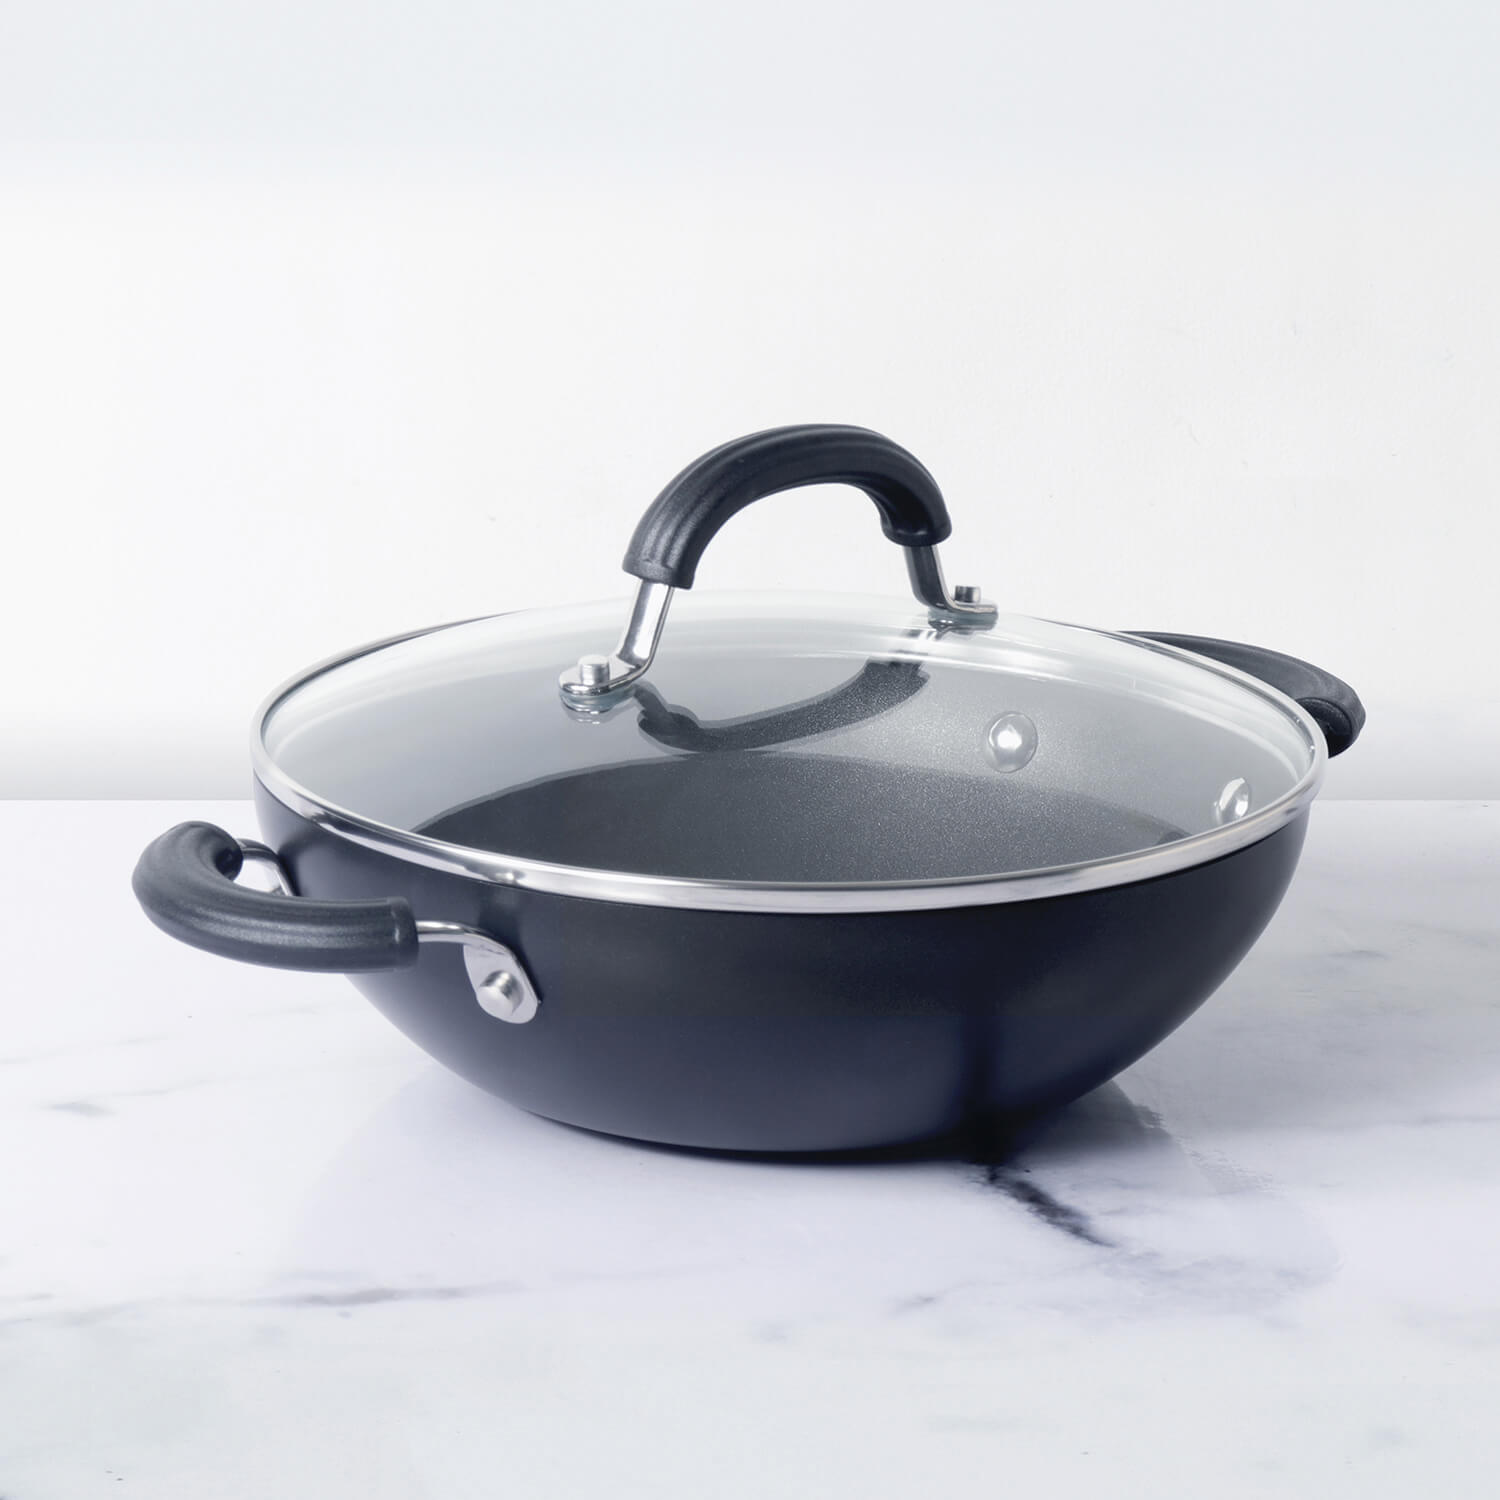


Leave a comment